This is one of the important forms of this program. It gives some functions that help you customize the program.
THE SCHOOL DETAILS TAB: #
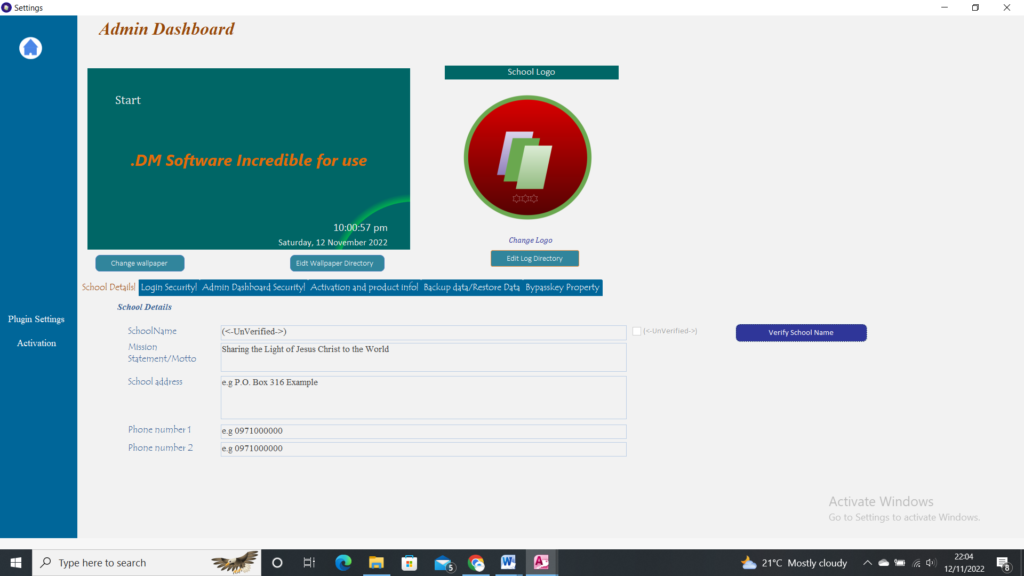
You can put your school details here. Note that you are required to submit your school name to the seller for verification purposes. When the software is sent to you it should have your name verified. Now, you will not be able to edit your verified school name. This name is the one that is going to show on your reports.
LOGIN SECURITY TAB: #
This has two accounts for this program. These two accounts are explained above on the Login form information.

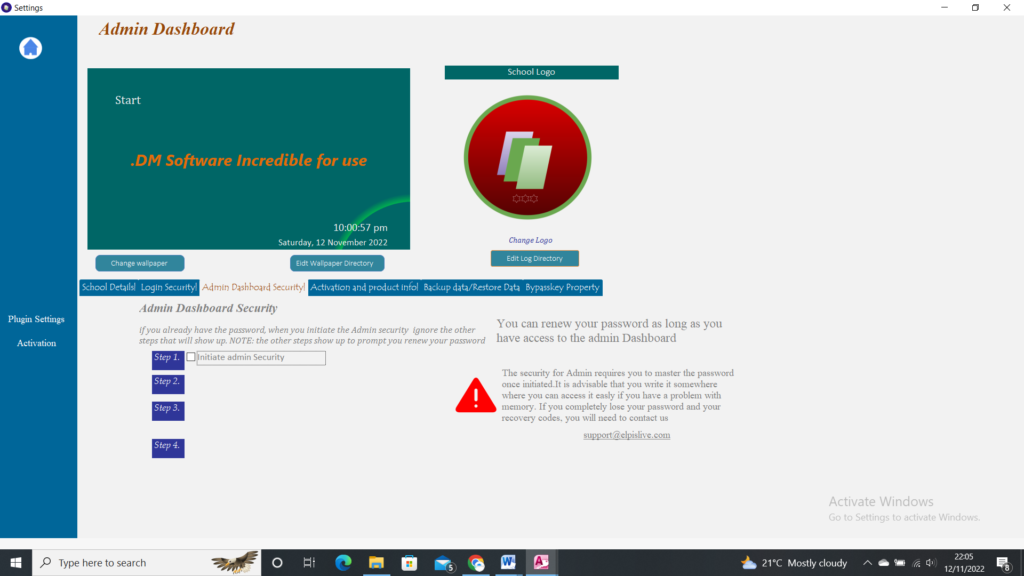
ADMIN DASHBOARD SECURITY TAB: #
This security level is added so that you can lock this form from some people that you do not want to temper with the information here. For instance, if you have set the Bypasskey to false (so that no one can view the tables when using Shift +Dbl Click on opening this database), you may want to put this security so that you are the only one who can have access the form and can change the information here.
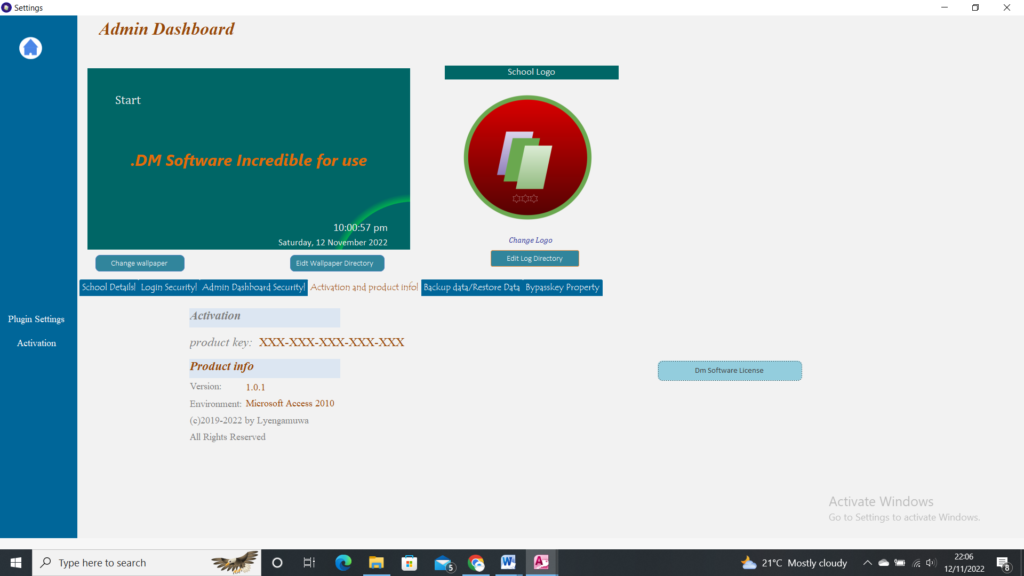
ACTIVATION AND PRODUCT INFO TAB: #
This shows the version, the activation code used and the environment the software should run. You can view the license for this software by clicking on the Dm Software license button
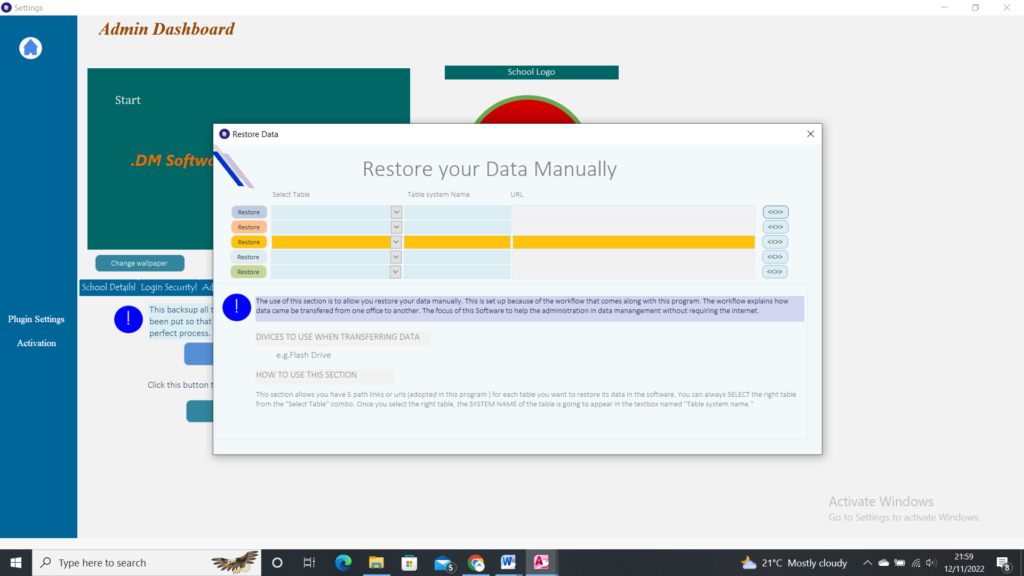
BACKUP AND RESTORE DATA TAB: #
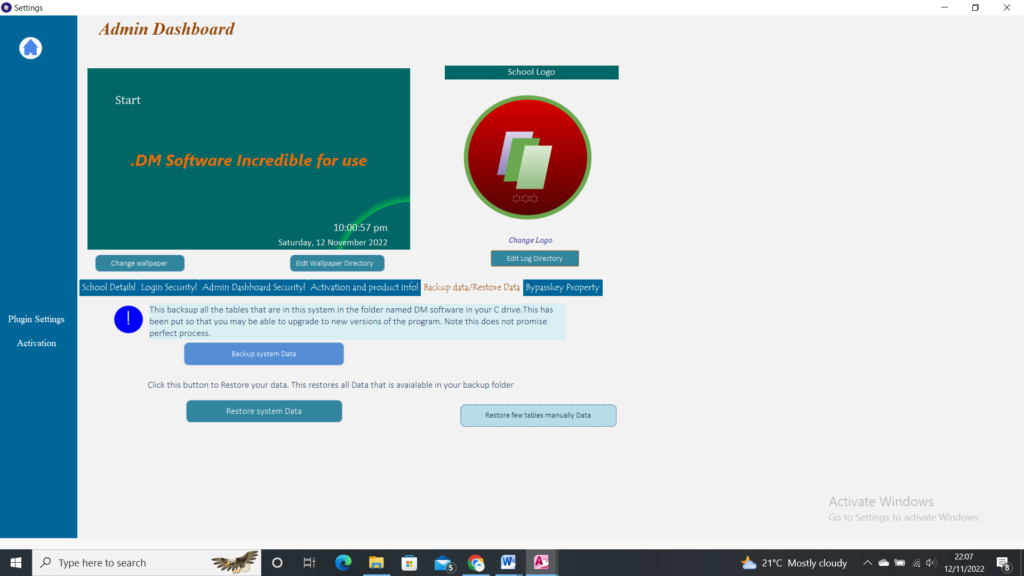
The functions here help you update to the newer version of this software smoothly.
Use this form to restore data into the desired table manually if it is just one or two tables that you want information from. For instance, the admissions may have new students added to the school, you can request for updated student tables from the team.
The team needs to do the following:
• Click the backup button
• Go to the C drive and look for the folder Dm software v.1.0.1
• Get the table for the desired class and transfer it to a flash drive if that is the means available
You need to do the following:
• SELECT the right table from the “Select Table” combo. Once you select the right table, the SYSTEM NAME of the table is going to appear in the textbox named “Table system name.”
• Click on the button next to the URL (adopted in this program in referring to path) to go to the PC and select that table. The path will be in the URL.
• Click on the restore button
BYPASSKEY PROPERTY: #
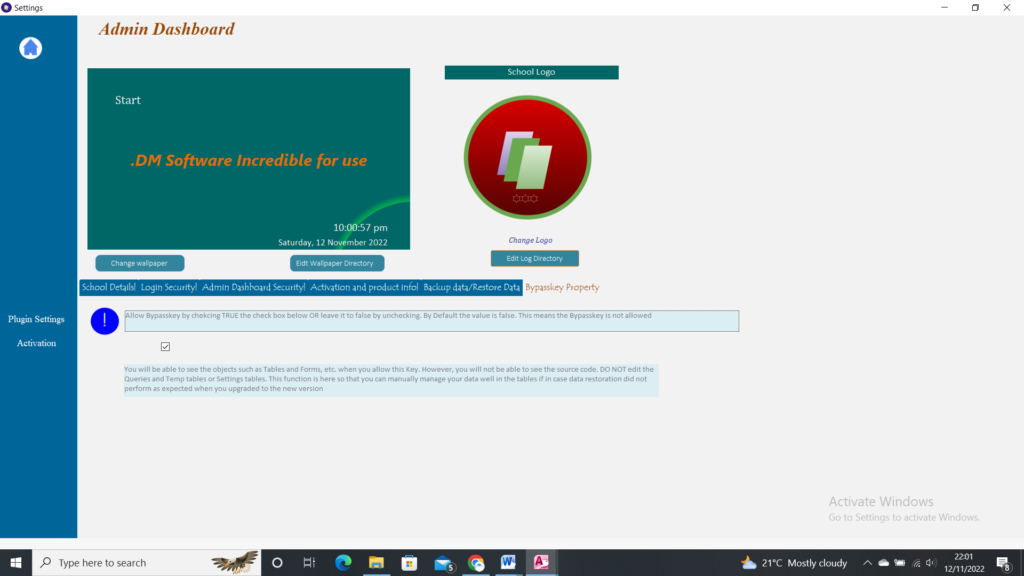
The check box allows you to set the Bypass key to true (Bypasskey: Shift + Dbl Click). This function is put in for the following reasons: You will be able to see the objects such as Tables and Forms, etc. when you allow this Key. However, you will not be able to see the source code. DO NOT edit the Queries and Temp tables or Settings tables. This function is here so that you can manually manage your data well in the tables if in case data restoration did not perform as expected when you upgraded to the new version


